Cookbook:Langchain 集成(JS/TS)
这是一个 cookbook,展示 Litefuse 与 Langchain(JS/TS)的集成示例。
按照集成指南将本集成添加到你的 Langchain 项目中。
配置环境
注册 Litefuse Cloud 或自托管 Litefuse 获取你的 Litefuse API keys。你还需要准备 OpenAI API key。
注意:本 cookbook 使用 Deno.js 执行,导入包和设置环境变量的语法与 Node.js 不同。对于 Node.js 应用,配置流程类似,但使用标准的
npm包和process.env。
// Litefuse authentication keys
Deno.env.set("LANGFUSE_PUBLIC_KEY", "pk-lf-***");
Deno.env.set("LANGFUSE_SECRET_KEY", "sk-lf-***");

// Litefuse host configuration
Deno.env.set("LANGFUSE_BASE_URL", "https://litefuse.cloud")

// Set environment variables using Deno-specific syntax
Deno.env.set("OPENAI_API_KEY", "sk-proj-***");
环境变量设置好后,我们就可以初始化 langfuseSpanProcessor,并将其传给负责 trace 编排的主 OpenTelemetry SDK。
// Import required dependencies
import 'npm:dotenv/config';
import { NodeSDK } from "npm:@opentelemetry/sdk-node";
import { LangfuseSpanProcessor } from "npm:@langfuse/otel";

// Export the processor to be able to flush it later
// This is important for ensuring all spans are sent to Litefuse
export const langfuseSpanProcessor = new LangfuseSpanProcessor({
    publicKey: process.env.LANGFUSE_PUBLIC_KEY!,
    secretKey: process.env.LANGFUSE_SECRET_KEY!,
    baseUrl: process.env.LANGFUSE_BASE_URL ?? 'https://litefuse.cloud', // Default to cloud if not specified
    environment: process.env.NODE_ENV ?? 'development', // Default to development if not specified
  });

// Initialize the OpenTelemetry SDK with Langfuse processor
const sdk = new NodeSDK({
  spanProcessors: [langfuseSpanProcessor],
});

// Start the SDK to begin collecting telemetry
// The warning about crypto module is expected in Deno and doesn't affect basic tracing functionality. Media upload features will be disabled, but all core tracing works normally
sdk.start();
步骤 2:实例化 CallbackHandler
实例化 CallbackHandler,并通过 callbacks 数组传给链的 .invoke() 或 .stream() 方法。链中的所有操作都会被作为嵌套 observation 记录下来。
import { CallbackHandler } from "npm:@langfuse/langchain";

const langfuseHandler = new CallbackHandler({
  sessionId: "user-session-123",
  userId: "user-abc",
  tags: ["langchain-test"],
});
步骤 3:Langchain 示例
我们创建一个能够回答问题并调用工具的简单 agent。这个 agent 使用 OpenAI GPT-5-mini 作为语言模型,用一个基础的天气函数作为工具,并通过一个简单的 prompt 来指导其行为。所有工具调用和模型调用都会被 Litefuse trace。
import { createAgent, tool } from "npm:langchain";
import * as z from "npm:zod";

const getWeather = tool(
  (input) => `It's always sunny in ${input.city}!`,
  {
    name: "get_weather",
    description: "Get the weather for a given city",
    schema: z.object({
      city: z.string().describe("The city to get the weather for"),
    }),
  }
);

const agent = createAgent({
  model: "openai:gpt-5-mini",
  tools: [getWeather],
});console.log(
await agent.invoke(
{ messages: [{ role: "user", content: "What's the weather in San Francisco?" }] },
{ callbacks: [langfuseHandler] }
)
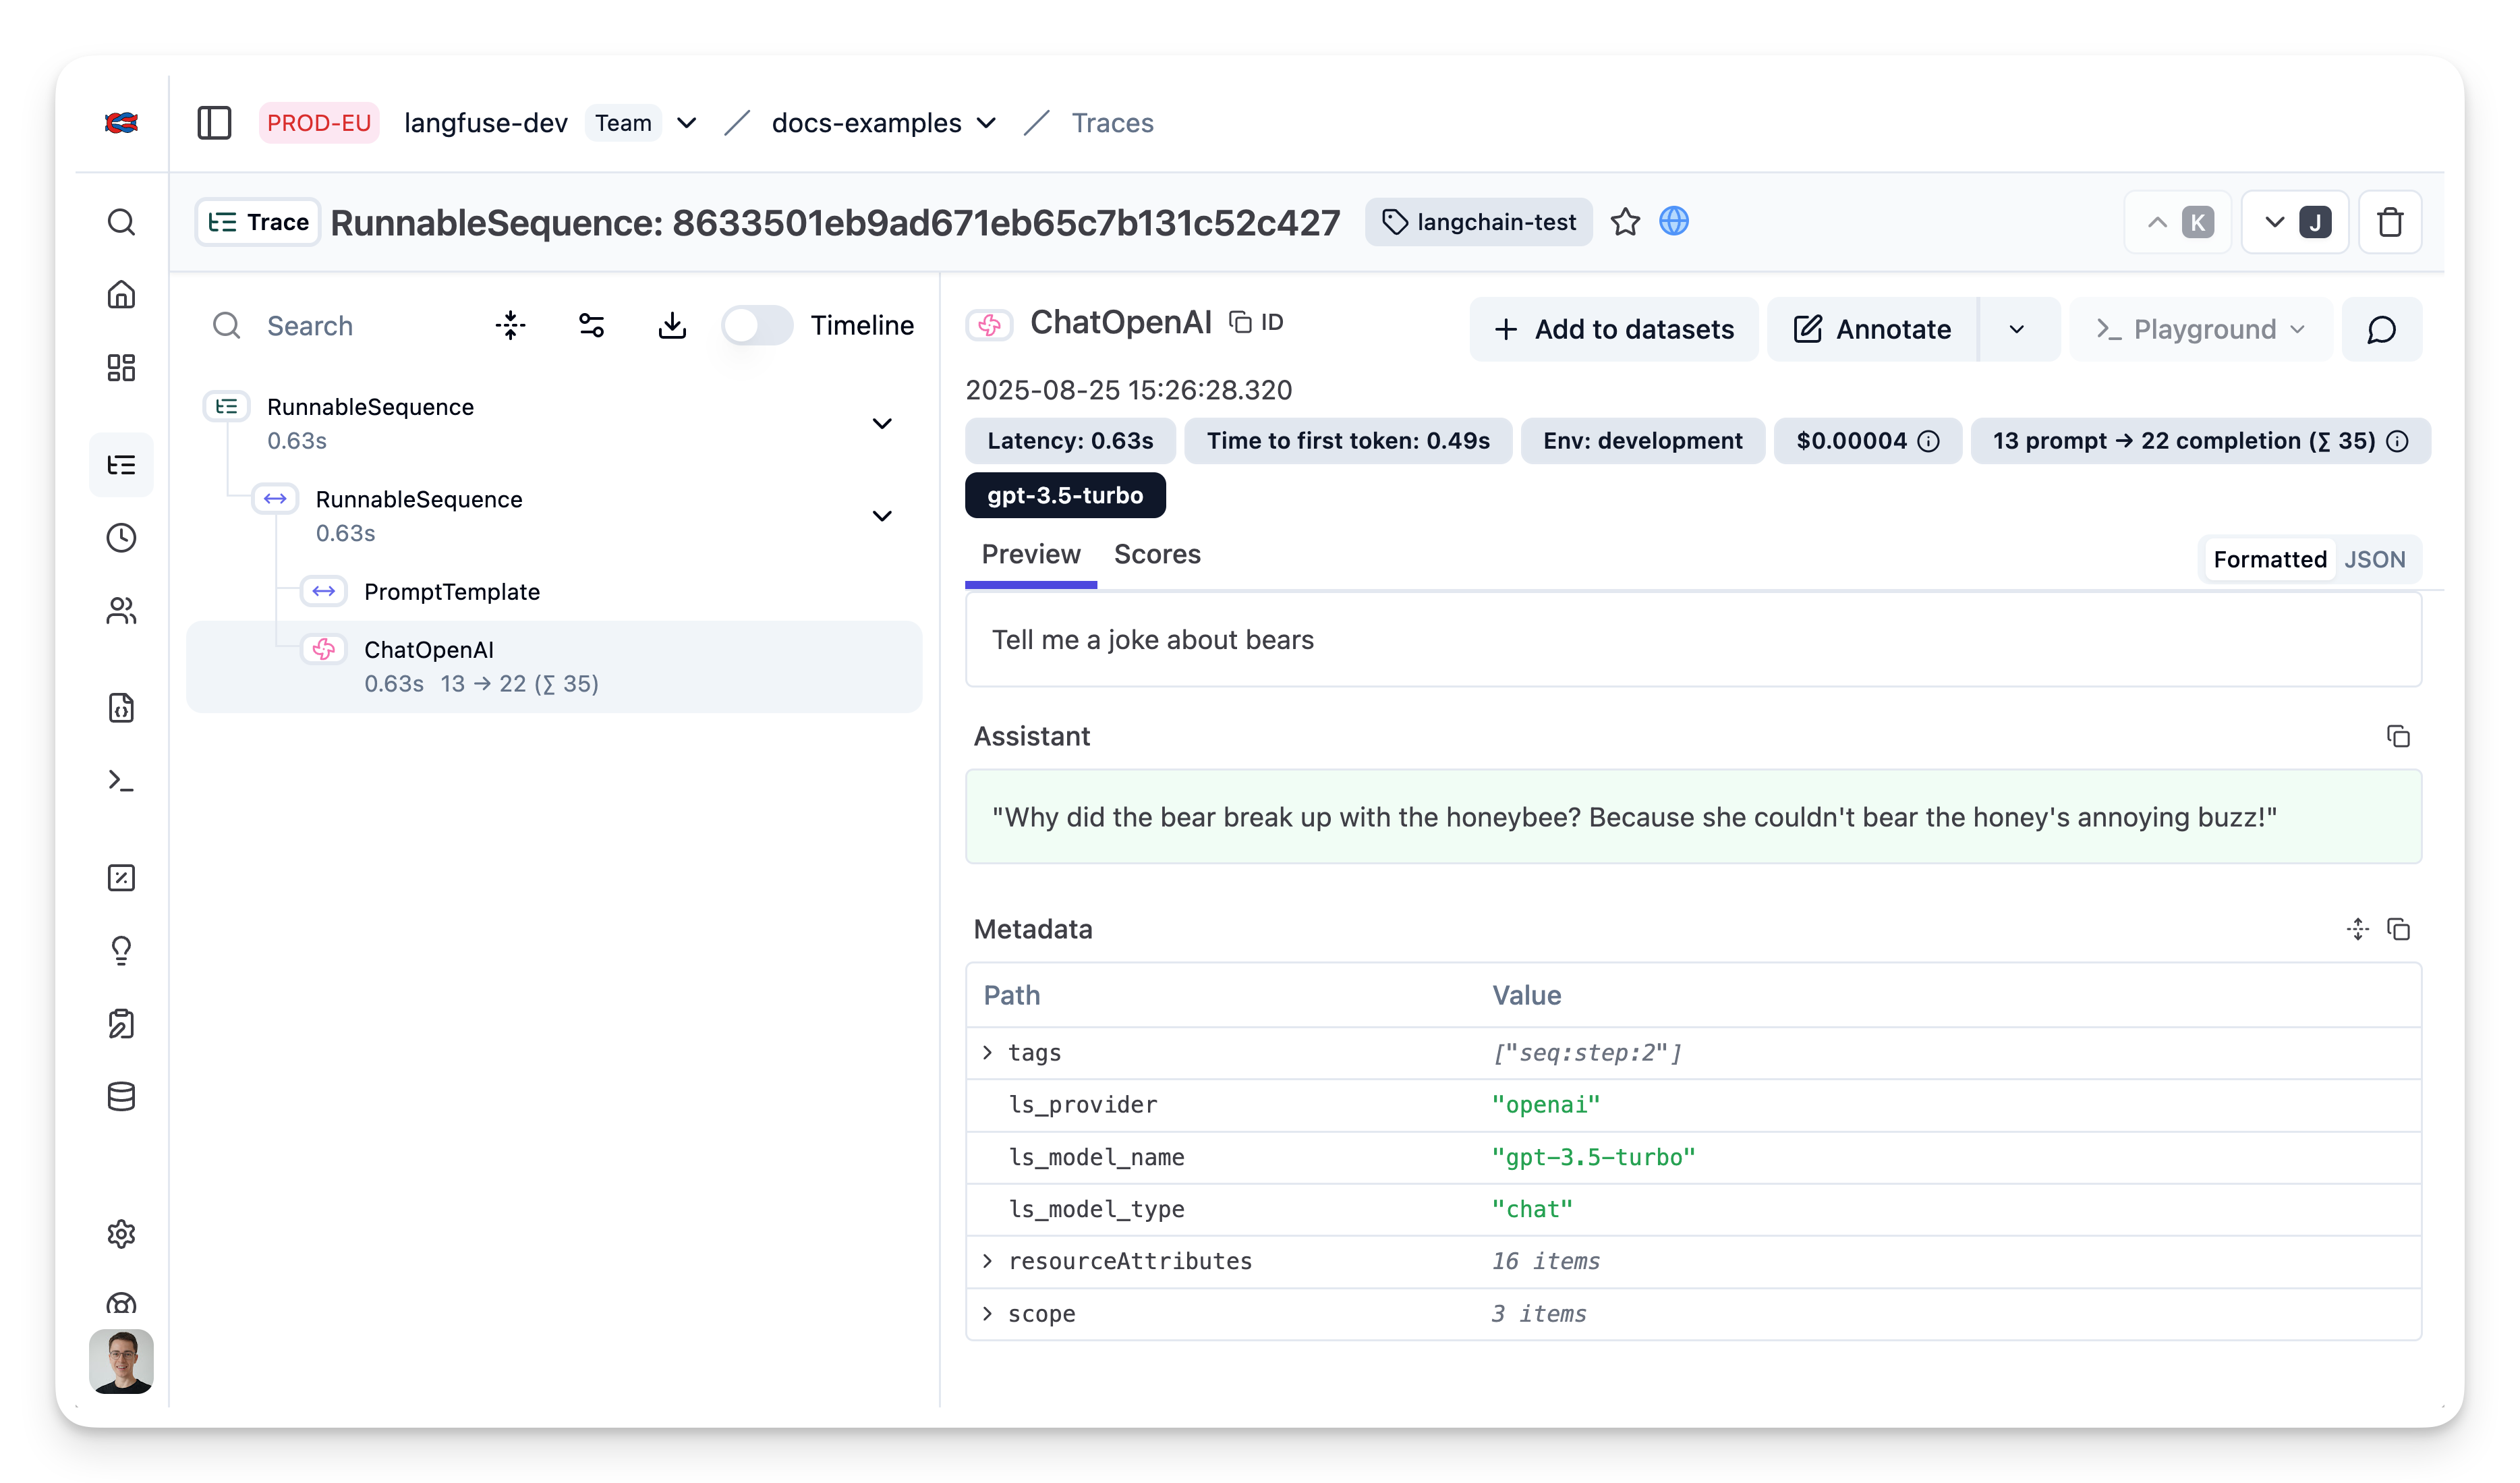
);步骤 4:在 Litefuse 中查看 trace
在 Litefuse 界面中,你可以看到 Langchain 应用所有步骤的详细 trace。
这个页面对你有帮助吗?