通过 OpenTelemetry 接入 OpenLIT
Litefuse 是一个 OpenTelemetry 后端,可以接收来自各种 OpenTelemetry instrumentation 库的 trace 数据。本指南演示如何使用 OpenLit instrumentation 库为兼容的框架或 LLM 提供商接入 trace。
步骤 1:安装依赖
安装所需的 Python 包:openai、langfuse 和 openlit。这些包让你既能调用 OpenAI,又能搭建 trace 所需的 instrumentation。
%pip install openai langfuse openlit --upgrade步骤 2:配置环境变量
在发送任何请求之前,需要先配置好凭据和 endpoint。首先填入 Litefuse 的 public key 和 secret key 完成认证,然后将 OpenTelemetry exporter 的 endpoint 和 headers 指向 Litefuse 后端。同时还要提供你的 OpenAI API key。
import os

# Get keys for your project from the project settings page: https://litefuse.cloud
os.environ["LANGFUSE_PUBLIC_KEY"] = "pk-lf-..."
os.environ["LANGFUSE_SECRET_KEY"] = "sk-lf-..."
os.environ["LANGFUSE_BASE_URL"] = "https://litefuse.cloud"

# Your openai key
os.environ["OPENAI_API_KEY"] = "sk-proj-..."
环境变量设好之后,就可以初始化 Langfuse 客户端了。get_client() 会根据环境变量中的凭据初始化 Langfuse 客户端。
from langfuse import get_client

langfuse = get_client()

# Verify connection
if langfuse.auth_check():
    print("Langfuse client is authenticated and ready!")
else:
    print("Authentication failed. Please check your credentials and host.")
步骤 3:初始化 Instrumentation
环境准备好之后,导入所需的库并初始化 OpenLIT 的 instrumentation。我们通过 tracer=tracer 复用上一步创建的 tracer。
import openlit

# Initialize OpenLIT instrumentation. The disable_batch flag is set to true to process traces immediately.
openlit.init(disable_batch=True)
步骤 4:发起一次 Chat Completion 请求
下面用一个简单的 OpenAI Chat API 请求作为例子。它会生成 trace 数据,之后你就能在 Litefuse 控制台里看到了。
from openai import OpenAI
# Create an instance of the OpenAI client.
openai_client = OpenAI()
# Make a sample chat completion request. This request will be traced by OpenLIT and sent to Litefuse.
chat_completion = openai_client.chat.completions.create(
messages=[
{
"role": "user",
"content": "What is LLM Observability?",
}
],
model="gpt-4o",
)
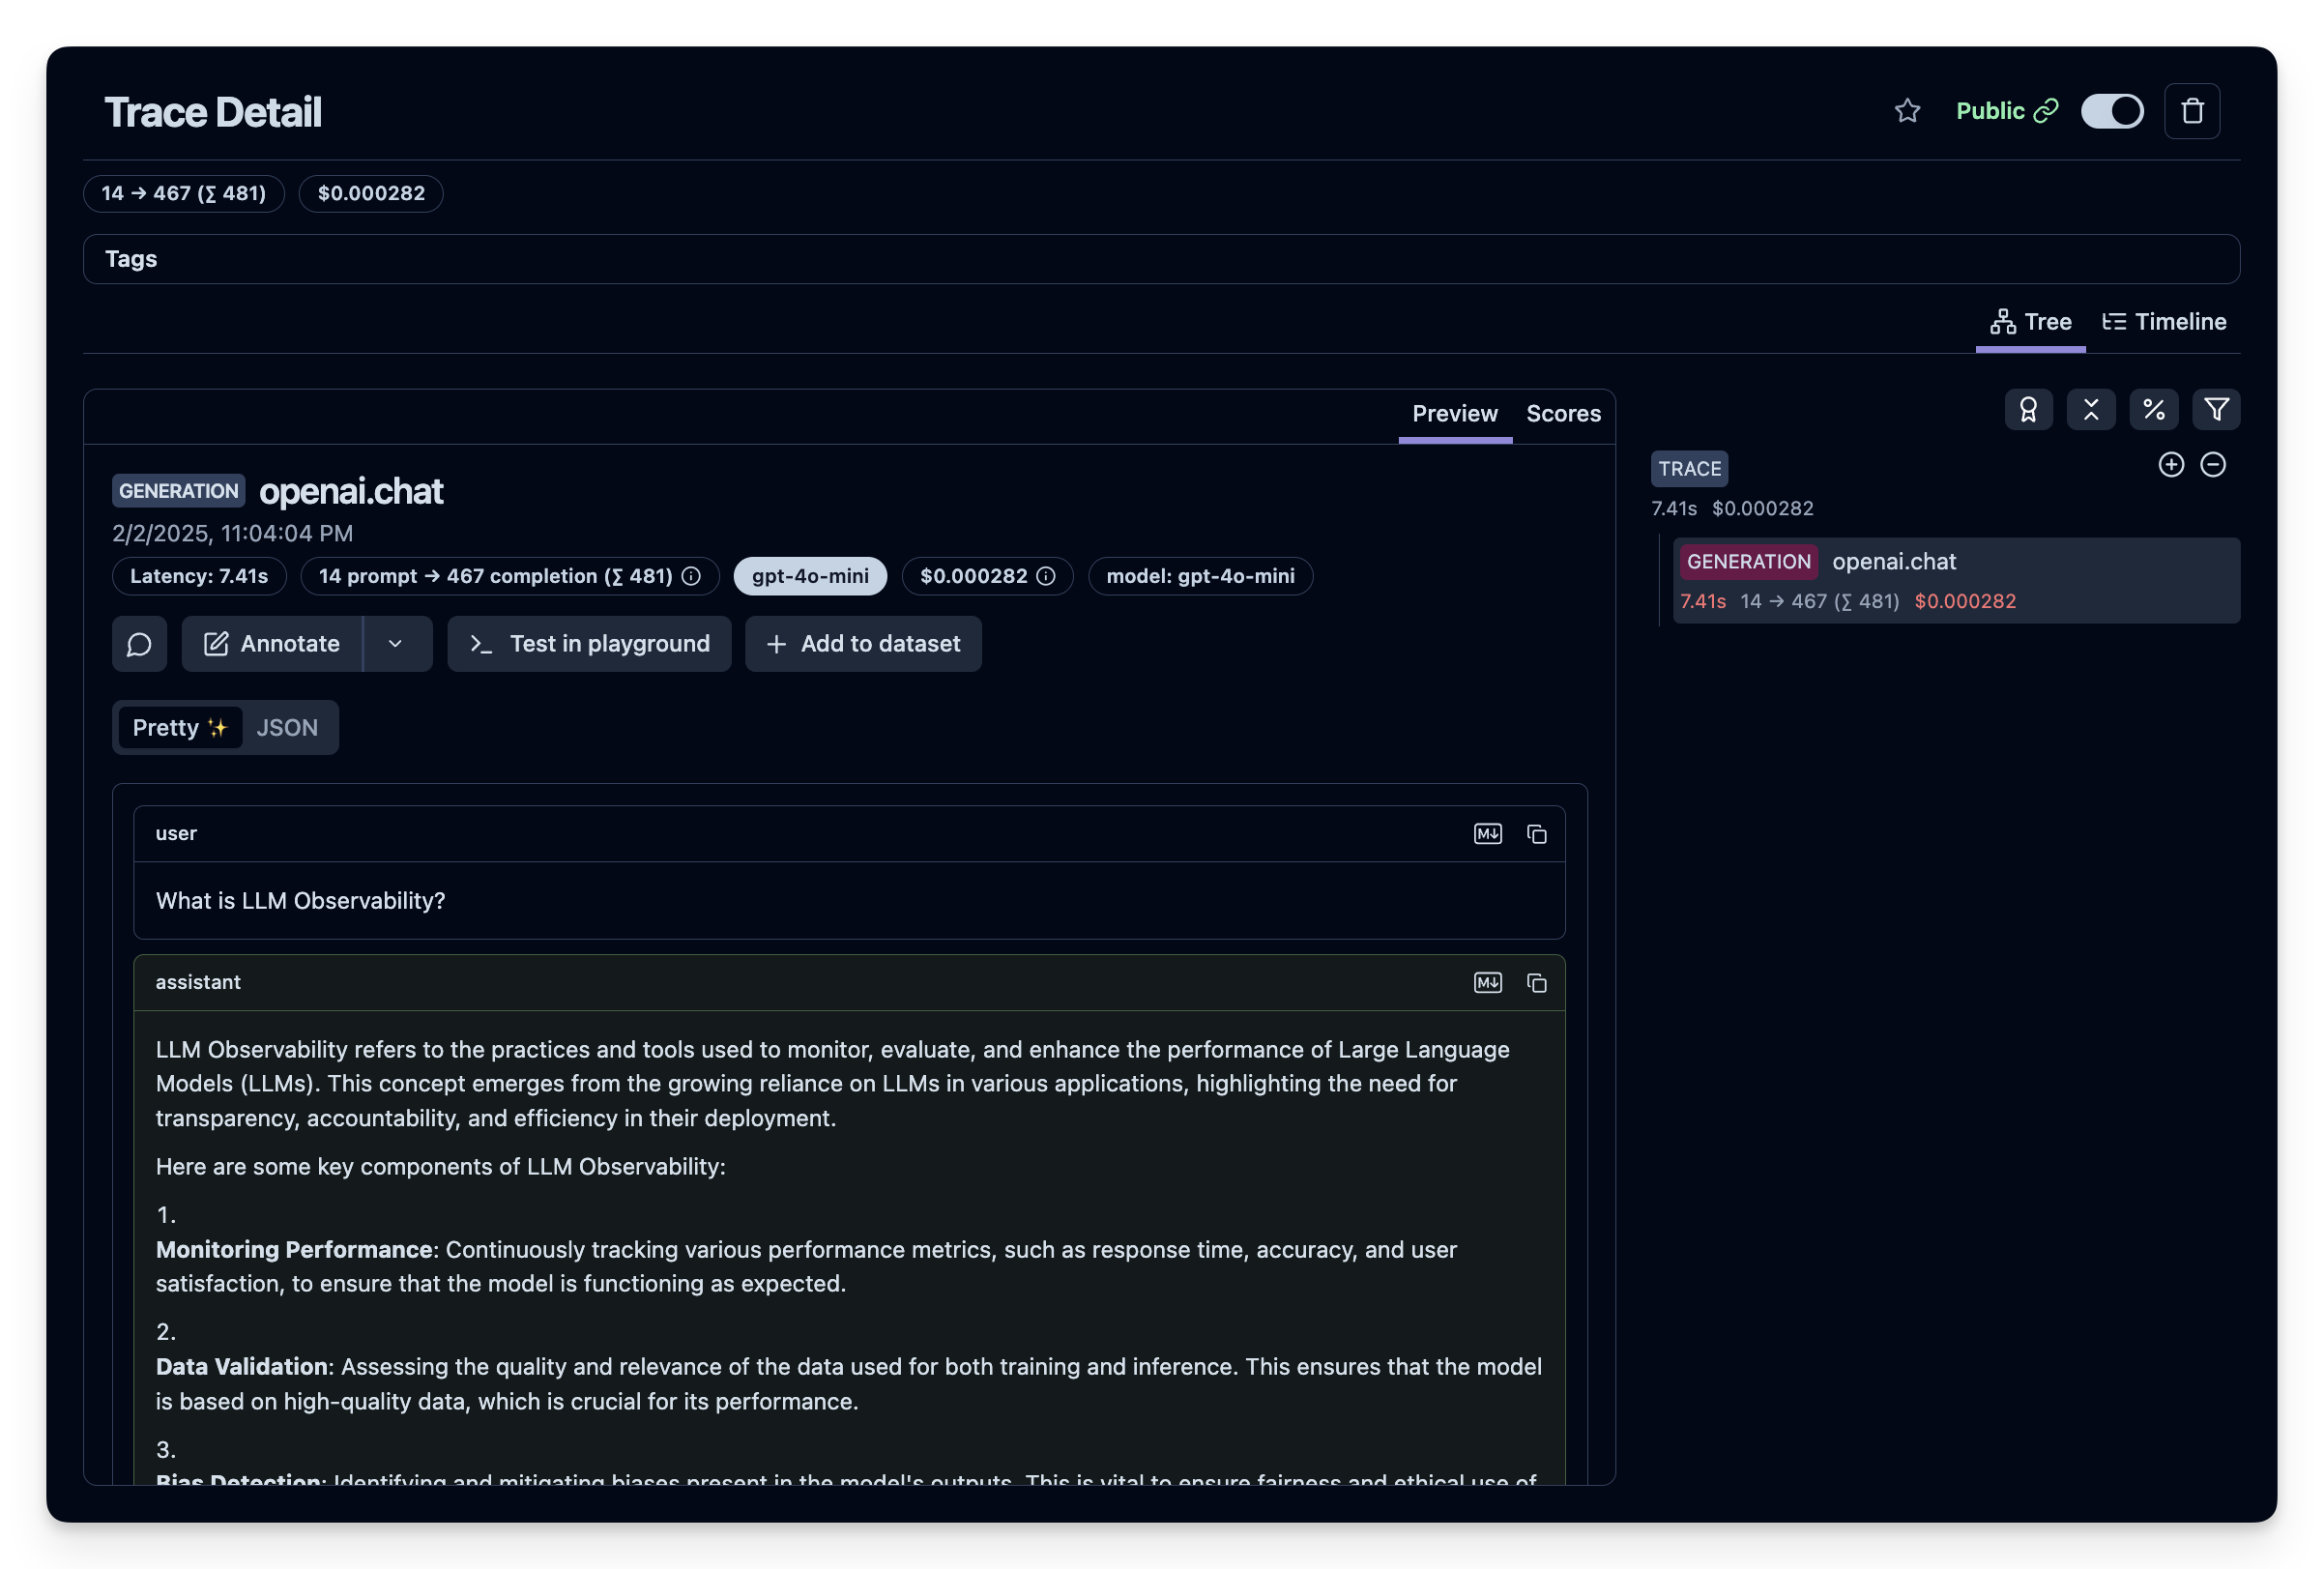
print(chat_completion)步骤 5:在 Litefuse 中查看 trace
你可以在 Litefuse 中查看生成的 trace 数据。可以在 Litefuse UI 里查看这条示例 trace。
这个页面对你有帮助吗?