Cookbook:LiteLLM (Proxy) + Litefuse OpenAI 集成(JS/TS)
本 notebook 演示如何用下面这套技术栈,在不改动代码的情况下体验来自不同提供商的 100+ 个 LLM:
- LiteLLM Proxy (GitHub):把 100+ 个模型提供商的 API 统一到 OpenAI API schema。
- Litefuse OpenAI SDK 包装器 (JS/TS):通过 OpenAI SDK 原生 instrument 对 100+ 个模型的调用。
- Litefuse:开源 LLM 可观测性平台,完整介绍见这里。
注意:本 cookbook 使用 Deno.js 执行,导入包和设置环境变量的语法与 Node.js 不同。对于 Node.js 应用,配置流程类似,但使用标准的
npm包和process.env。
配置环境
注册 Litefuse Cloud 或自托管 Litefuse 获取你的 Litefuse API keys。你还需要准备 OpenAI API key。
注意:本 cookbook 使用 Deno.js 执行,导入包和设置环境变量的语法与 Node.js 不同。对于 Node.js 应用,配置流程类似,但使用标准的
npm包和process.env。
// Litefuse authentication keys
Deno.env.set("LANGFUSE_PUBLIC_KEY", "pk-lf-***");
Deno.env.set("LANGFUSE_SECRET_KEY", "sk-lf-***");

// Litefuse host configuration
Deno.env.set("LANGFUSE_BASE_URL", "https://litefuse.cloud")

// Set environment variables using Deno-specific syntax
Deno.env.set("OPENAI_API_KEY", "sk-proj-***");
环境变量设置好后,我们就可以初始化 langfuseSpanProcessor,并把它传给负责 trace 编排的主 OpenTelemetry SDK。
// Import required dependencies
import 'npm:dotenv/config';
import { NodeSDK } from "npm:@opentelemetry/sdk-node";
import { LangfuseSpanProcessor } from "npm:@langfuse/otel";

// Export the processor to be able to flush it later
// This is important for ensuring all spans are sent to Litefuse
export const langfuseSpanProcessor = new LangfuseSpanProcessor({
    publicKey: process.env.LANGFUSE_PUBLIC_KEY!,
    secretKey: process.env.LANGFUSE_SECRET_KEY!,
    baseUrl: process.env.LANGFUSE_BASE_URL ?? 'https://litefuse.cloud', // Default to cloud if not specified
    environment: process.env.NODE_ENV ?? 'development', // Default to development if not specified
  });

// Initialize the OpenTelemetry SDK with Langfuse processor
const sdk = new NodeSDK({
  spanProcessors: [langfuseSpanProcessor],
});

// Start the SDK to begin collecting telemetry
// The warning about crypto module is expected in Deno and doesn't affect basic tracing functionality. Media upload features will be disabled, but all core tracing works normally
sdk.start();
配置 Lite LLM Proxy
本例中我们会通过本机的 Ollama 来使用 llama3。
步骤
- 创建
litellm_config.yaml配置可用模型(文档)。本例使用通过 Ollama 提供的 llama3。 - 确保你已经安装好 Ollama 并拉取了 llama3 (8b) 模型:
ollama pull llama3 - 运行以下 cli 命令启动 proxy:
litellm --config litellm_config.yaml
Lite LLM Proxy 现在应该已经运行在 http://0.0.0.0:4000
如需验证连接,可以运行 litellm --test
通过 Litefuse OpenAI 包装器记录单次 LLM 调用
Langfuse SDK 提供了一个包装 OpenAI SDK 的函数,会把所有 OpenAI 调用自动作为 generation 记录到 Litefuse。我们为每次调用单独包装一次客户端,以便传入名称。更多细节请参考我们的文档。
import { OpenAI } from "npm:openai";
import { observeOpenAI } from "npm:@langfuse/openai";

const PROXY_URL = "http://0.0.0.0:4000";
const client = observeOpenAI(new OpenAI({baseURL: PROXY_URL}));

const systemPrompt = "You are a very accurate calculator. You output only the result of the calculation.";

const llamaCompletion = await client.chat.completions.create({
  model: "ollama/llama3",
  messages: [
    {role: "system", content: systemPrompt},
    {role: "user", content: "3 + 3 = "}
  ],
});
console.log(llamaCompletion.choices[0].message.content);
6
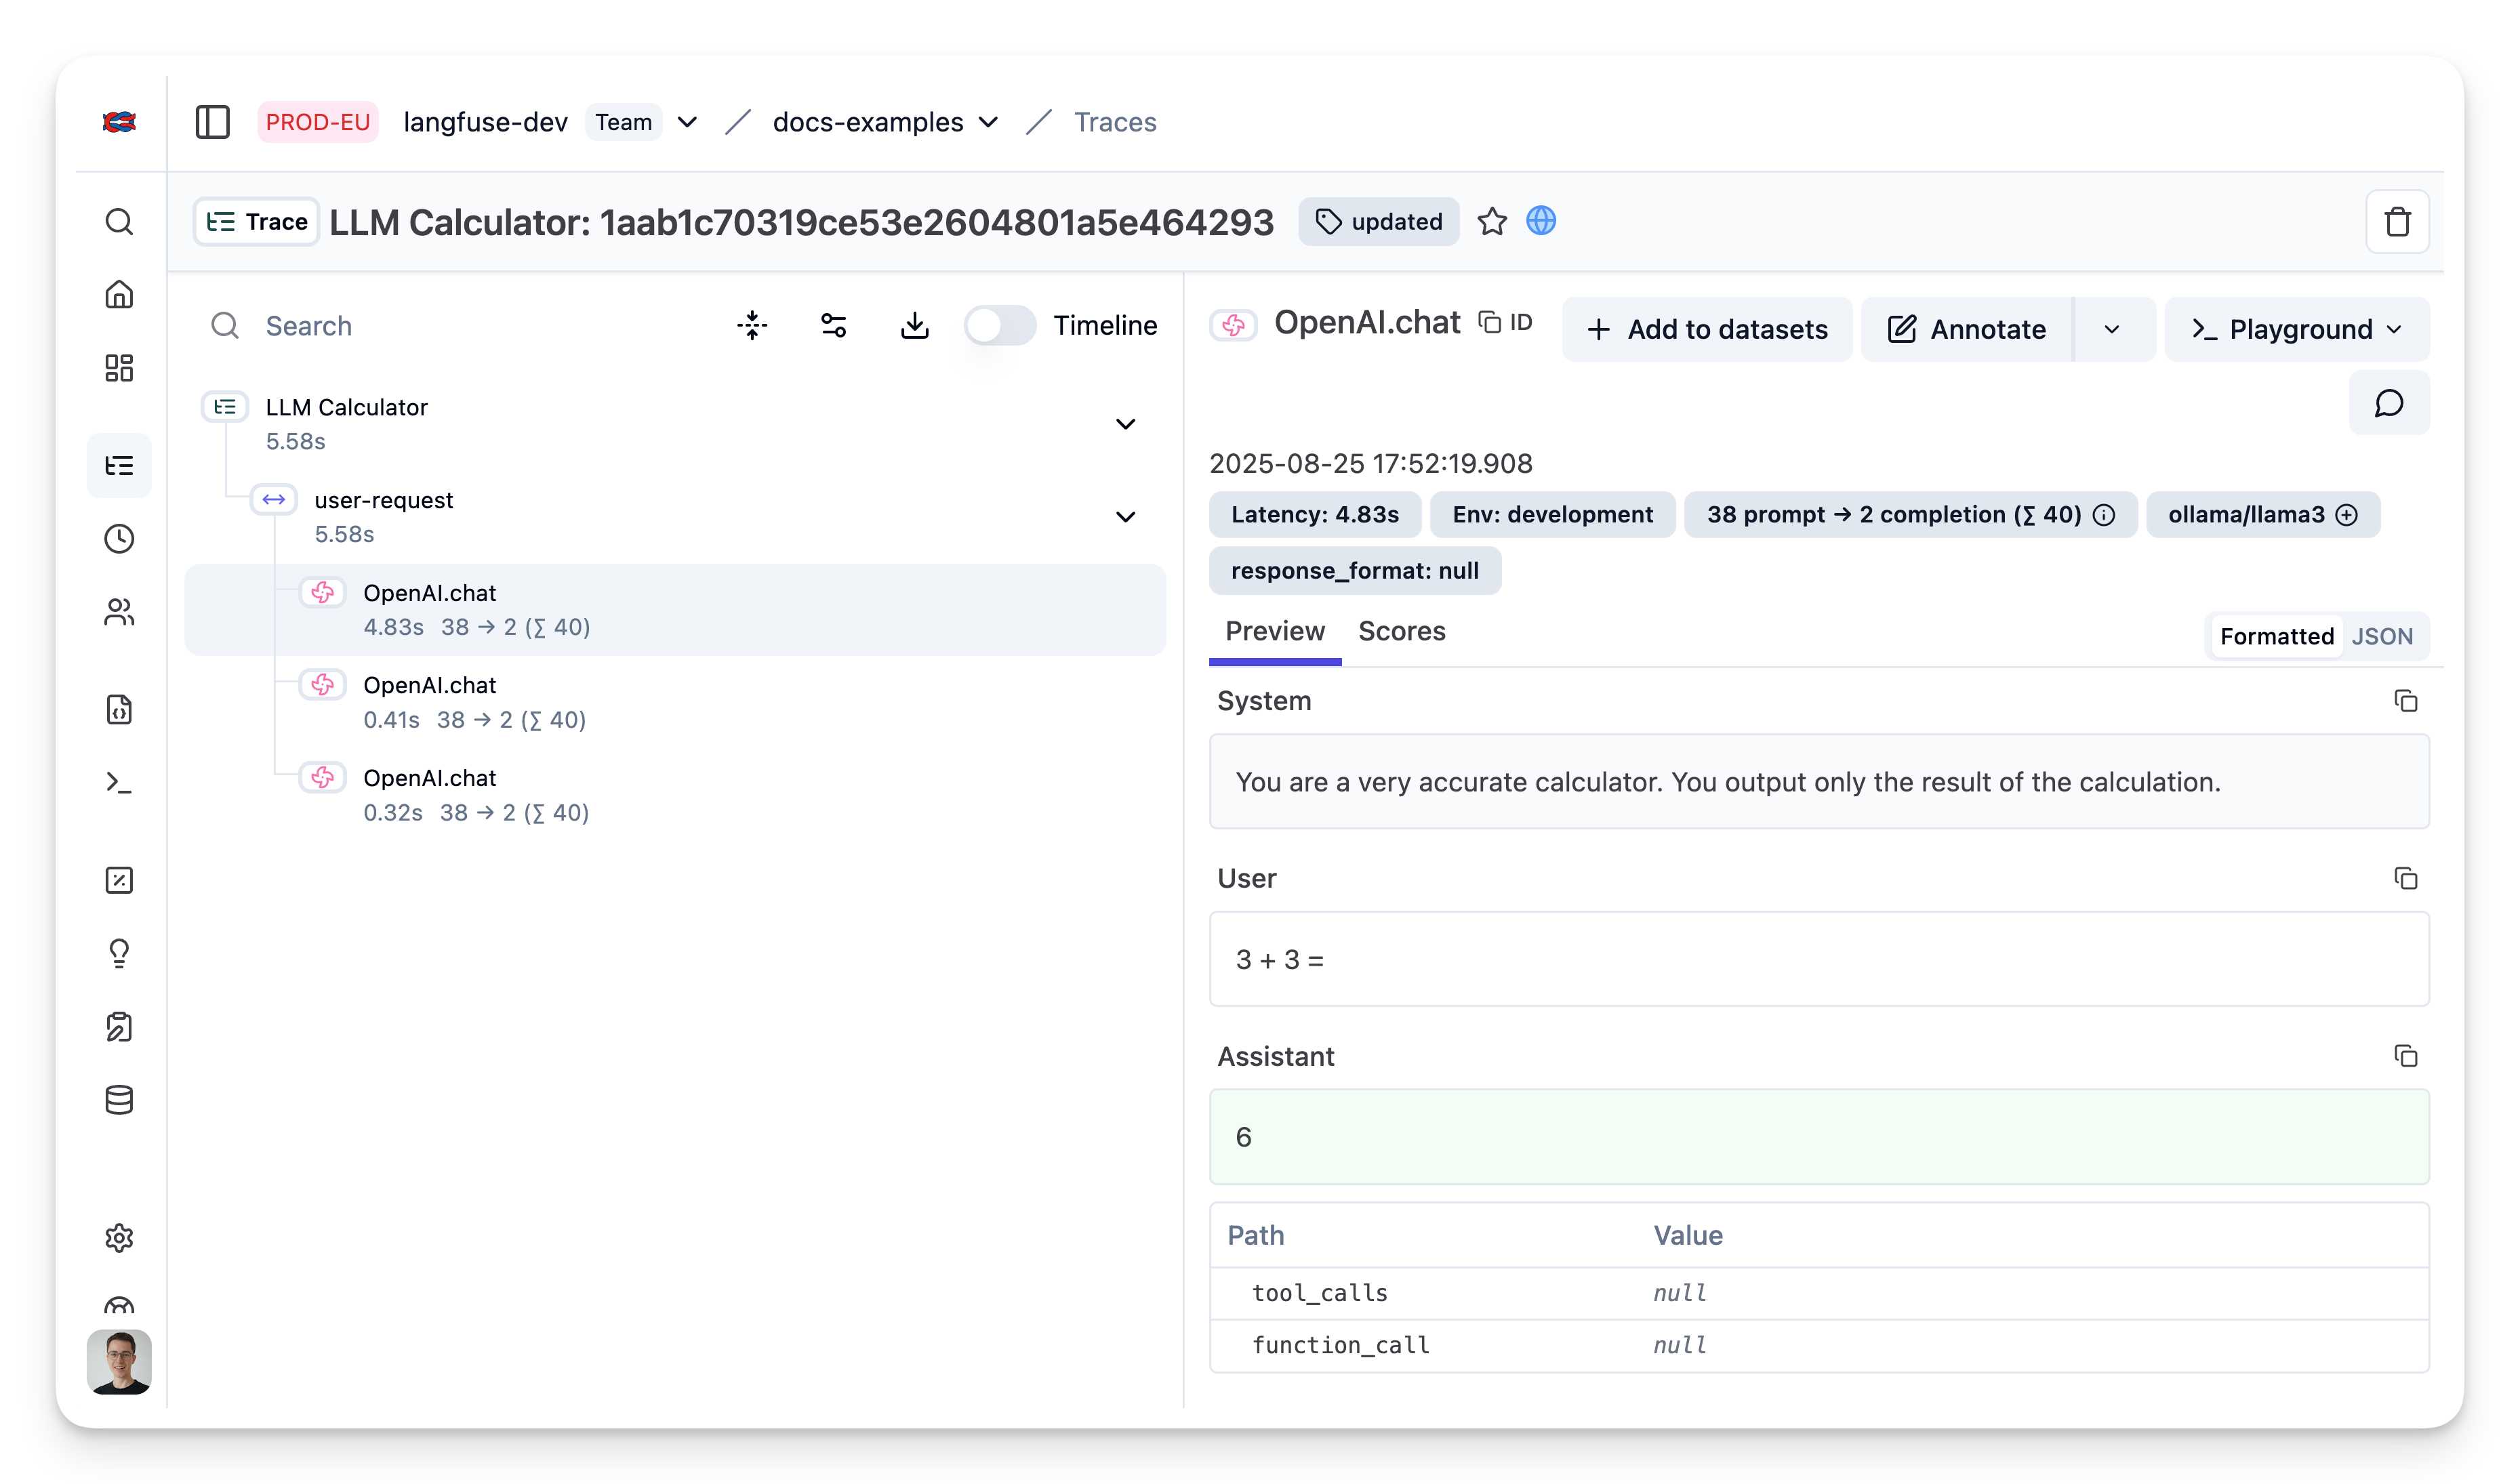
使用 Litefuse JS SDK trace 嵌套 LLM 调用
使用 Langfuse TypeScript SDK 的 context manager 把多个 LiteLLM generation 组合到一起,并更新顶层 span。
import { startActiveObservation, startObservation, propagateAttributes } from "npm:@langfuse/tracing";
import { observeOpenAI } from "npm:@langfuse/openai";

const client = observeOpenAI(new OpenAI({baseURL: PROXY_URL}));

const systemPrompt = "You are a very accurate calculator. You output only the result of the calculation.";

await startActiveObservation("user-request", async (span) => {

  await client.chat.completions.create({
    model: "ollama/llama3",
    messages: [
      {role: "system", content: systemPrompt},
      {role: "user", content: "3 + 3 = "}
    ],
  });

  await client.chat.completions.create({
    model: "ollama/llama3",
    messages: [
      {role: "system", content: systemPrompt},
      {role: "user", content: "1 - 1 = "}
    ],
  });

  await client.chat.completions.create({
    model: "ollama/llama3",
    messages: [
      {role: "system", content: systemPrompt},
      {role: "user", content: "2 + 3 = "}
    ],
  });

  // Propagate trace attributes
  await propagateAttributes({
    traceName: "LLM Calculator",
    tags: ["updated"],
    metadata: {"env": "development"},
    release: "v0.0.2",
  }, async () => {});

  // Set input on the root observation
  span.update({
    input: systemPrompt,
  });

});
在 Litefuse 中查看 trace
了解更多
查看文档以了解这套技术栈中各个组件的更多信息:
如果你不想通过 OpenAI SDK 包装器捕获 trace,也可以直接把 LiteLLM Proxy 的请求记录到 Litefuse。详情请参考 LiteLLM 文档。